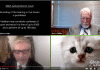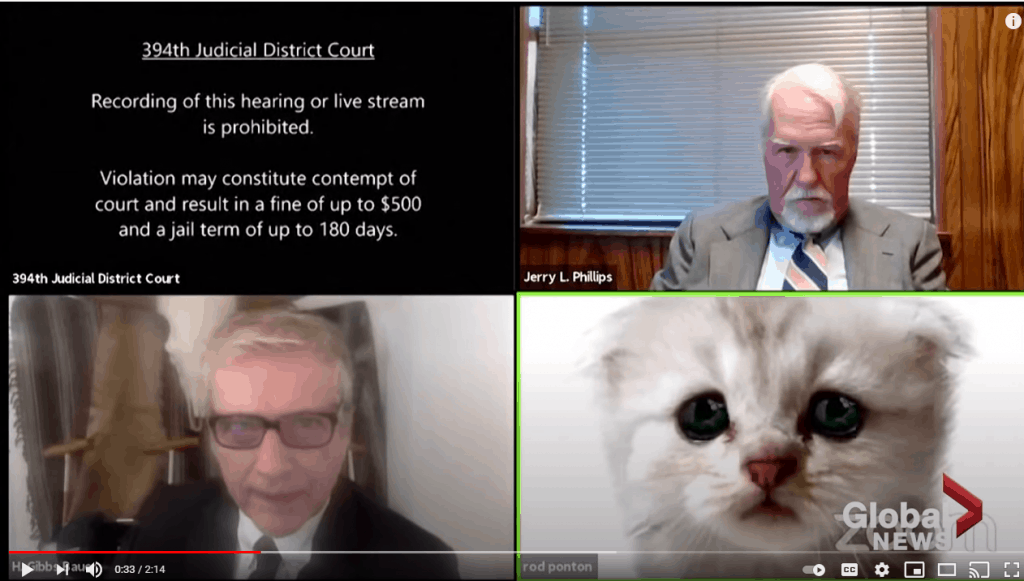
“Can you hear me Judge? I’m here live. I’m not a cat”
If there’s one thing we’ve learnt from Lawyer Cat it’s that the zoomification of the judicial system has raised some challenges and whiskers. All joking aside, how do you record a remote lecture, look your best, get the audio right with a laptop or PC from your home office, kitchen table or back garden?
We’ve been working with subject matter experts recording lectures from their homes since the start of the Pandemic 12 months ago. Here are our key insights and best practice guide to help you create online lectures that will engage with your learners.
Prepare for Recording Your Remote Lecture
Plan your video recording. Get to know your lecture recording tools. Have your presentation and notes rehearsed and ready to go. Know your audience. Get comfortable in your surroundings. Relax. Lights. Camera. Action.
Audio for Remote Lecture Recording
It’s ok to be less than perfect with your video. People don’t expect a Hollywood production. However there is no mercy when it comes to bad audio and learners will switch off instantly. Start with a test recording and then listen back. What to do and watch out for –

- The rustle of paper, mouse clicks or other noises near the mic
- Other sounds in the room, fans, hums, buzzing, air conditioners, clocks ticking, etc.
- Turn off/silence your phone,
- Turn off computer notifications
- Background chatter of the kids or noisy teenagers (not always possible to eliminate!)
- Are you too far/close to the microphone
- Have a glass of water at your side and don’t record hungry

Pausing, Stopping & Starting Your Recording
Not happy with your recording or fluffed your lines? If you make a mistake when recording, don’t press pause or rewind. Take a breath then clap twice.
The double clap leaves visual spikes in the editing timeline. They’re a great visual clue of where the mistake is, so we can easily go back later and edit it out in post production. Don’t start speaking until at least 5 seconds into the recording and continue with your presentation.
It is critical for audio post-production of your lecture that you leave at least 3 seconds silence when starting/finishing a new topic, turning a page, at the beginning/end of a recording or when even when you have a glass of water. Once we have two or three seconds of silence to work with it ensures quality audio.
Two worthy mentions that will send your audio recording into a different stratosphere are “Room Echo” and “Wired Headphones”.
Room Echo. We’re all working from home and our homes are designed for the eyes not the ears. High ceilings, timber floors, tiles and concrete, bare walls and glass surfaces are the enemies of good audio.
The preference is for a carpeted room with soft furnishings, sofas, books etc. anything that will absorb sound. Generally this means the bedroom, sitting room, parlour or the “good room” for those of you who are of a particular vintage.


Wired Headphones. These will singularly put your audio up there with some of the great Hollywood productions and make you the envy of your peers.
Your laptop or PC’s speakers are grand for calls but will decrease the sound quality of a recording. The sound coming through the speakers bleeds into the microphone and can make the audio unusable or impossible to edit in post-production.
Use wired headphones for the best sound quality. Bluetooth headphones are a second best option by quite a distance. Bluetooth causes audio delay. This is where you get that weird sound that doesn’t quite sync with the conversation on screen and creates nightmares in post-production. Trust us we know.
If you’re not comfortable with the Mickey Mouse ears, invest in a quality webcam that captures video and audio and you can leave out the headphones.
Camera Positioning & Why It’s Ok to Let Go of the Need to Be Perfect
Making the jump from the in-person lecture to the virtual classroom is quite a leap but not as difficult as it seems. Accept that you’re not Meryl Streep or Robert De Niro and that no one expects you to be.
“Don’t Let Perfection Be The Enemy Of Done”

Don’t be tempted to record audio only. Feedback from our learners is that they much prefer to see the speaker and listen to the audio. Learning outcomes are also much higher.
Here are the key tips for recording your lecture at home –

Dress. Dress professionally and comfortably and in a manner that will make you and your audience engage and connect. When it comes to what to wear, solid colors are a must. Avoid fabrics with logos, small or distracting patterns, wrinkled clothes as they can all be visually distracting to your learners.
Light. You’ll look much better on camera when there’s a good light source. Lighting is all about technique and not expensive equipment. Try and stay away from rooms with low light or too much backlighting from the windows or you’ll end up with a zombie or shadowy washed out look. Light yourself from the front using soft indirect light from a lamp shade.


Background. Look behind you. What can people see? If it’s distracting, embarrassing or revealing it will take from your presentation. Consider enhancing your online lecture with a virtual background giving you total control over what people see.
Eye Level. Your laptop is perfectly placed to get a clear shot up your nose. Ensure the camera is at or above eye level, no higher than your hairline. You may need to prop your laptop up on a stack of books.


Eye Line. Talk to the camera eye not the screen below it or you’ll end up with an odd, distracted look. This subtly tells your learners that at best you’re not really interested in what you’re doing and at worst you’ll look a bit weird.
Framing. The most common problem people make recording a video is poor framing or shot composition. The good news is it’s easy to fix. Don’t sit too close to the camera.
Position your webcam far enough away to capture your shoulders and your entire face, with some room to spare. Centre yourself in the frame with not too much empty space above your head or you’ll appear to be sinking.Too little headroom places visual emphasis on the person’s chin and neck. Follow the rule of thirds.

The Rule of Thirds

The Rule of Thirds basically states that you want your subject to be in the cross hairs of the top two intersections of the lines. This type of shot is ideal for learning. Center your subject, but keep their eye-line on the top line. Any further away, and you start to lose that personal contact. And if you move too close to the camera, it gets uncomfortable for the viewer.
Hopefully this article will set you up to record your lecture. Lights. Action. Shoot.
If we can be of help contact us or schedule a consultation.